Showing posts with label construction. Show all posts

Monday, April 18, 2011

the bed!

we started the bed this weekend. exciting!

it's going to go across the entire back of the bus.

except the center is going to lift up so we will still be able to use the back door.


we build one side on sunday.


then today the boys and i went over to cover the front and lay it in place.

i used the staple gun and stapled some leftover ceiling panels down. nicholas and noah hammered them in all the way.

then we cleared out the side and fit it into place.

it's going to have a 3/4" piece of ply on top with a hinge on the wall side so we can get under there for storage.

the other side is going to look the same with the hinge against the wall to get underneath. it is also going to have another hinged board to flip out to go across the center.
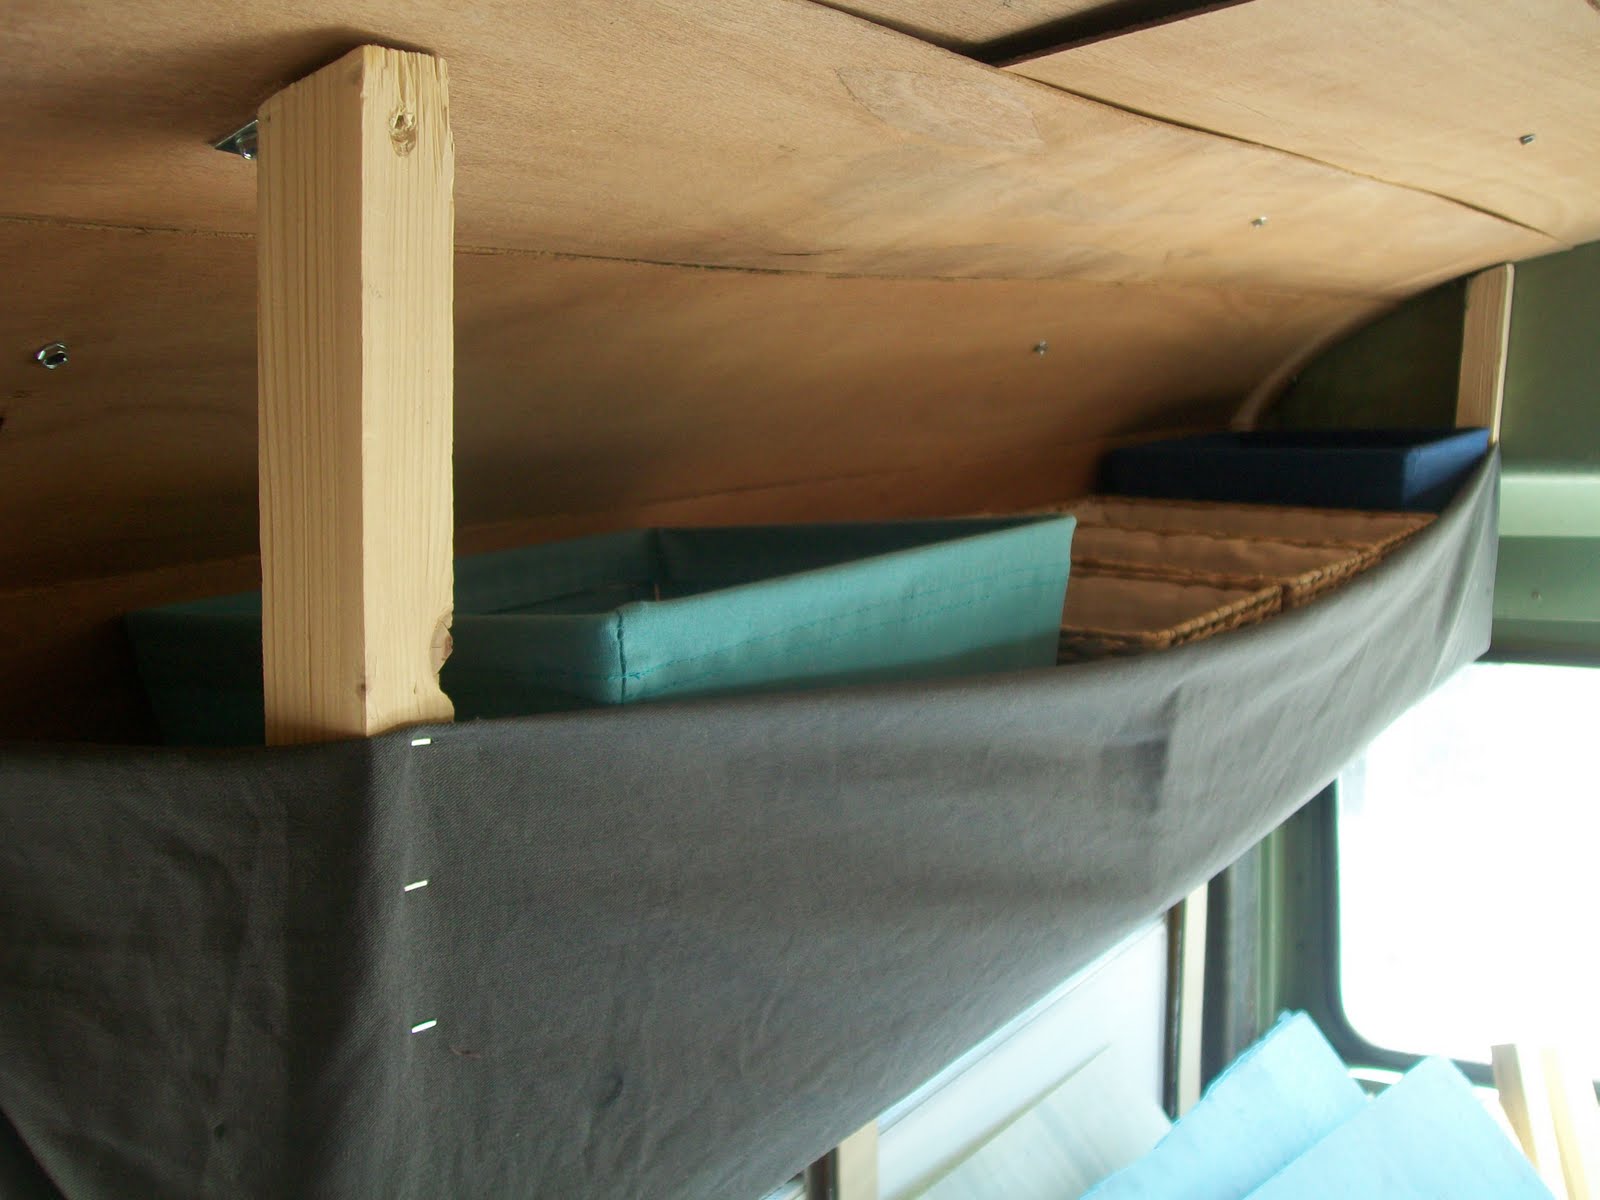


shelf above the bed. (the last one got scrapped) it fits 2 medium sized baskets and 3 small ones.

Friday, April 15, 2011

ceiling!

the ceiling is done!!! holy moly!

this took for.ev.er.
it's a little lumpy in places but it's nothing a little glue can't fix. the right side is a lot nicer than the left because we had more practice :D

we made an enormous mess.
yep, big mess.
but it's mostly cleaned up now!

Sunday, March 13, 2011

we have a wall!

i started putting the ceiling up. holy moly! it's hard! the most difficult thing i've done on the bus so far.

i put up foil bubble wrap insulation first, then screw the boards on , then stuffed insulation in between. i needed to take a break from putting the ceiling up so i did enough so i could finally put a wall up. it's in between the sink cabinet and the bathtub. getting the curve just right to fit was impossible so there are a couple gaps. whatev.

the blue is a little shelf. it holds 10 - 1/2 pint mason jars. there are going to be 3 more shelves under it. 2 for pint size mason jars and 1 for quart size.

i brought over steven's bachelor pad fridge. it's going to sit about 8 inches from the edge of the bunk bed. it's enough room for them to wiggle their skinny bodies up to the top. i'm going to build a cabinet for the fridge and ice box to sit in with a little shelf over top.

we aren't sure if we are going to use the fridge as a freezer with a shelf dedicated to making ice for the ice box. or if we are going to use the fridge as a fridge and have the ice box be general storage. not really important now but it's something to think about.


i'm in the beginning research stages to set up a solar system to run the fridge.

Tuesday, February 15, 2011

cubby hole

i wasn't sure what i was going to do in the front under the dash behind the door. i knew i wanted some kind of storage. i was thinking shelves with a door and a door but, eh, i didn't really want to actually do it. a storage bin is way easier. so that's what i did! :P

we are planning on having it be for sweatshirts/coats so they will be close to the door.

it's the same color as the walls. i got an opps quart for $4 at lowes last week. i actually really like it. with the greenish and purple, it gives a beachy feel. at least i think it does. steven either doesn't think so... or doesn't care... i can't tell. :P

Monday, February 14, 2011

blog neglect

we've been going to the bus everyday lately. we've barely been home. so busy!

- i finished painting the windows with the elastomeric roof coating.
- i finished painting the step
- steven finished the first coat of roof paint
- we hung walls! (except for behind the bathtub)
- we painted the living room area walls
- i cut out some sheet metal panels and glued them down in the front floorboard area
- steven cut out/reconnected the heater hoses in the engine.
- i washed/painted the metal pieces that were in between the windows but ended up not using them. i glued strips of wood on instead.

Wednesday, February 2, 2011

finished steps! woot!

i finished the step yesterday. i put a piece of plywood over the 3 2x4s. i needed to sand down the front corner so the door would close.

then i siliconed some short pieces of ply around the edges to close up any gaps.

then everything got a coat of purple. i'll have to go back and give it a couple more coats. but all the major stuff is finished.

nicholas cut out a light we didn't need.

it was a long day. noah fell asleep using his lunchbox as a pillow. haha

today, it was too cold and windy to go over. we went shopping instead. i wanted to check out some sticky carpet tile for the cockpit area. they wanted $3/sqft. yikes. they were like $8 per tile.

so i was looking at rubber floor tiles. they were even more expensive. like $9 a piece.

i kept going to foam floor tiles. they had grey ones for $19 for 16sqft. not so bad.

they had some kid's room alphabet ones $18 for 26sqft. winner! i got 2 packs.

i also got another gallon of elastomeric roof paint, a quart of low voc contact cement and another paint roller thingy because steven broke the last one.

we came home and set up the tiles on the living room floor. they love them. :)

Monday, January 31, 2011

bottom step

today i worked on the bottom step. i'd been avoiding it because i wasn't exactly sure how i could fix it. it was completely rusted through.

the whole step was being held up by about 3 inches on the left side. someone put a huge heavy piece of steel over top. it spread the weight out but it was still pretty dangerous.

first i cut out the old rusty step. i had to cut it in half so i could close the door and stand on the ground to cut behind the door. once i got it off, i slathered some rust converter on the edges.

i bolted some reclaimed wood to the sides of the step on either side. then hung 2x4's across the bottom. i glopped some rubber cement on the nuts to keep them from vibrating open.

tomorrow, i'm going to cut some plywood to fit over top.

Sunday, January 30, 2011

bunks

we finally finished something! the boys bunk beds are done and ready for sleeping! (not like they will even sleep in them anyway. haha)

we raised up the bottom bunk about 5 inches. i didn't want it too close to the wheel well because i thought it need more insulation space than what there was before.


i build a little box for around the wheel well to hold some insulation. when the bunks are in their final position, it will be screwed to the floor. for right now, it's just sitting there.

i put some foil bubble wrap style insulation in the wheel well box. then i put 3 fleece blankets that were in our yard sale pile over top. i think there were 12 layers of fleece total.

i used a mattress we already had for nicholas' top bunk. i just cut it down to fit. i made noah a new one from a foam mattress topper ($36 for a king size)and the cut off from nicholas' mattress.

i wrapped it in an old sheet and tacked it with embroidery floss (left over from 7th grade bracelet making) so the layers won't shift.

we need to reinforce the legs where they stack but other than that, done!

bonus pic of the beach the other day :)

Friday, January 21, 2011

back to business!

on tuesday, i cut down the bunk beds that julie and mike gave us. it was already unscrewed so all i had to do was cut the planks. there were 11 total so it was a quick job.

wednesday, i put the bottom bunk back t0gether and cut the bottom board.

this morning, i put together the top bunk and stacked them. i had to cut a little of the top to get it to fit against the curved ceiling.

they aren't secured to each other very well. i wouldn't let them jump around on bed like that in a house, let alone in a moving bus. yikes.

they did makes themselves at home by eating lunch on their bed. haha


the head space for the bottom bunk is way taller than the top. we might have to do some more fiddling to get them to be more even.


check out this perfection. 2 of the drawers i pulled out of the cab-over fit perfectly underneath on either side of the wheel well. who's excited? this girl.

Tuesday, October 26, 2010

floor done!

library today! their favorite day!

after the library, we went over to the bus and finished the floor. i only had to cut 9 pieces. 2 to fit on the front of the right wheel well and 7 along the side. not too bad.
i used 6 boxes of flooring. there are 11 left, including the 4 that are different. i think i'm going to use the different ones on the inside of the boys bunks.

i think we are going to start raising the roof this weekend.

Monday, October 25, 2010

more floor

this morning i put the sink in the cabinet and trimmed the counter so the drawer fit in again. the counter that was on before didn't have a lip and this one does to it just needed a little trim down.

the boys and i went over to the bus this afternoon and put some more floor boards down. we are going to go over again after the library and hopefully finish up.
the bumps don't need flooring because they are both going to be covered.

floor started!

steven's dad was there yesterday. he was digging an irrigation ditch (according to nicholas, "we're digging a dudge. that means stream.") the boys helped him all day. which means steven and i were able to get a lot done.

first we filled in any holes and ground off any screws. there were 3 big holes (like the one under my knee in the pic.) steven cut squares of wall paneling out and we guerrilla glued them down. they need to be weighted down for a couple hours.

that's why the bricks and fire extinguisher are on the floor.

plastic vapor barrier sheeting went down first.

then the blue foam.

we took a break for a nap. :)
then aluminum foil. the more expensive foam board had foil on one side of it. this way was cheaper :)
all foiled.

we started a laying floor down. it was getting late so we had to finish up.

i'm really happy with how much we got accomplished yesterday!

Friday, October 22, 2010

bathtub in! (kind of)

i painted more of the floor and siliconed in some of the seat holes.

we also built the frame for the bathtub.

as it turns out, we are not as skilled a pair of carpenters as we though. i hope the learning curve is a short one.

we set up video games in the back of the van for nicholas. he loved it.